4 mins min read • 9 November 2026


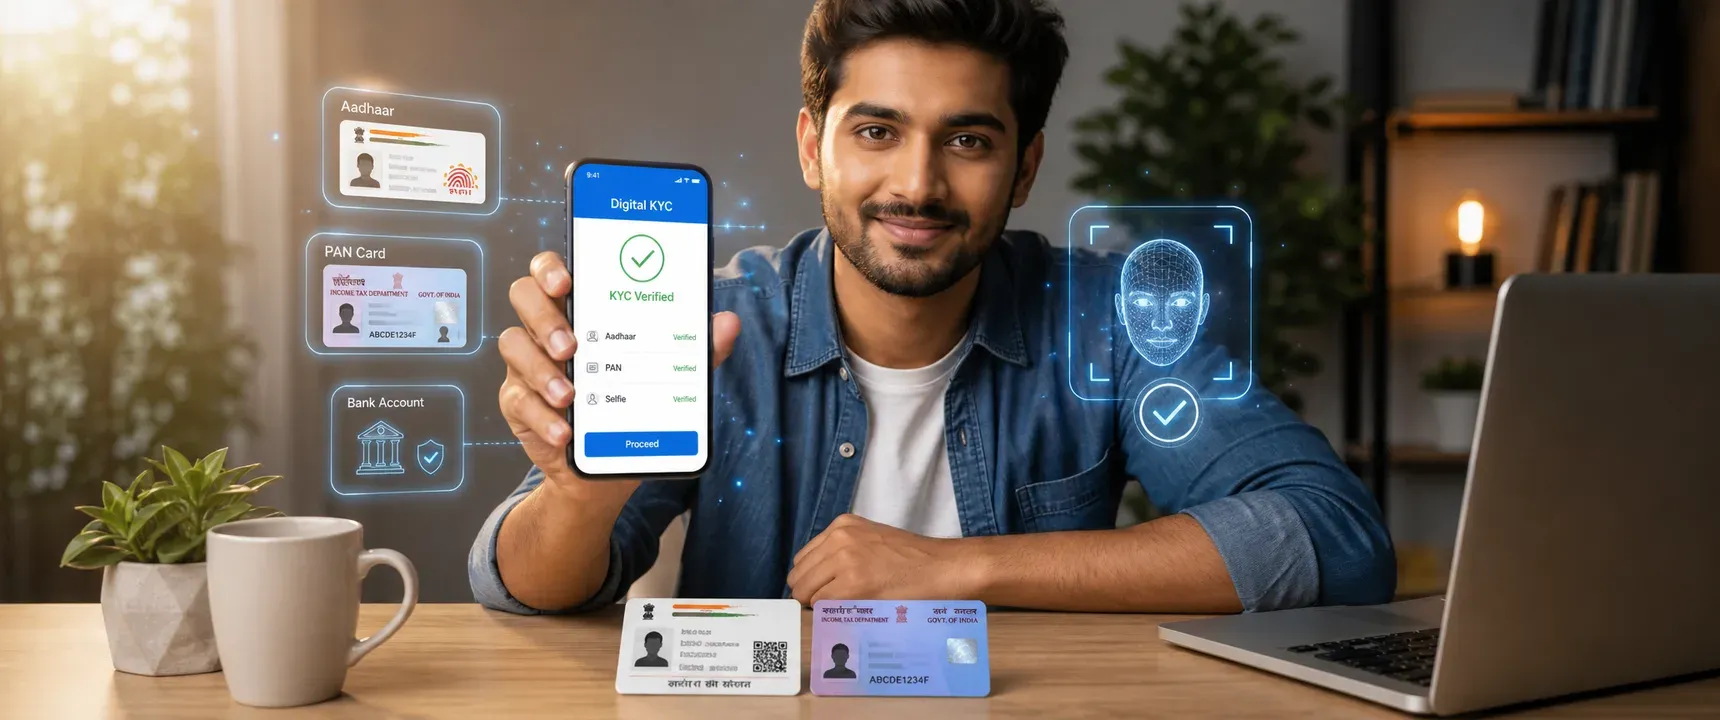
Table of content
How to prepare for digital KYC when applying for an instant loan
What is digital KYC?
Step 1: Ready your Aadhaar
Step 2: Verify your PAN
Step 3: Prepare for selfie verification
Step 4: Keep your bank account ready
Common mistakes that delay approval
Quick checklist before you apply
FAQs
A single blurry selfie or a mistyped Aadhaar number can stall your instant loan application for days. Most borrowers in India already own the documents they need, yet many stumble during digital KYC because they never prepared those documents for an online verification flow. mPokket designed its fully digital loan process around Aadhaar, PAN, and selfie checks, so getting these details right before you tap "apply" is the difference between quick approval and a frustrating rejection.
Follow our Whatsapp Community for more offers and updates.
Join nowDigital KYC is the process lenders use to verify your identity entirely online. Instead of visiting a branch with photocopies, you share your Aadhaar number, PAN details, and a live selfie through a loan app. The app validates these against government databases in real time.
For platforms like mPokket, digital KYC is designed to enable a paperless loan experience. OTP based verification through your Aadhaar linked mobile number confirms that you are the rightful holder of that identity. PAN verification cross checks your tax identity. Together, these steps can help the lender assess your profile within minutes rather than days.
Your Aadhaar card is the foundation of digital KYC in India. Before applying, confirm that your mobile number is linked to your Aadhaar. The lender sends an OTP to this number during verification. If your number is not linked, visit your nearest Aadhaar enrolment centre to update it.
Check that the name, date of birth, and address on your Aadhaar are current. If you recently changed your name after marriage or corrected a spelling, make sure the updated Aadhaar reflects those changes. A mismatch between your Aadhaar name and PAN name is one of the most common reasons digital KYC fails.
Download a copy of your e-Aadhaar from the UIDAI website as a backup. The PDF is password protected and accepted by most digital lenders including mPokket.
PAN card verification confirms your tax identity and helps the lender check basic financial records. Before you apply, make sure your PAN is active. You can verify its status on the Income Tax Department portal.
Compare the name on your PAN with the name on your Aadhaar. Even small differences, such as initials versus a full name, can trigger a mismatch during automated checks. If there is a discrepancy, correct it on whichever document is easier to update before starting your loan application.
Selfie verification is a liveness check. The loan app captures your face in real time and compares it against the photo stored in your Aadhaar record. This step is designed to confirm that the person applying is physically present and matches the identity documents submitted.
To pass selfie verification smoothly, follow these practical tips. Use natural or bright indoor lighting so your face is clearly visible. Remove sunglasses, caps, or heavy accessories that obscure facial features. Hold your phone at eye level with a plain, uncluttered background. Avoid taking the selfie in direct sunlight, which can wash out your features and cause the system to reject the image.
After KYC verification, the lender disburses funds directly to your bank account. Make sure the account you plan to use is active and in your name. The name on your bank account should match the name on your Aadhaar and PAN.
Have your account number and IFSC code accessible. Some apps, including mPokket, may ask you to verify your bank account through a small test deposit or account number confirmation. A dormant or mismatched account can delay disbursal even after KYC is approved.
Knowing what goes wrong helps you avoid it. Here are the errors that most frequently stall digital KYC during an instant loan application in India.
Uploading blurry or partially cropped images of your Aadhaar or PAN is a frequent cause of rejection. The system needs to read the document number, name, and photo clearly. Use your phone camera in good light and capture the full card without cutting edges.
Attempting OTP verification with a mobile number that is not linked to Aadhaar will fail every time. There is no workaround for this step. Link your number before you begin.
Name mismatches between documents create automated flags. Even "Rajesh K" on PAN versus "Rajesh Kumar" on Aadhaar can cause a hold. Align names across all documents beforehand.
Taking a selfie with poor lighting, filters, or obstructed features leads to liveness check failures. The system compares your live image to your Aadhaar photo, so clarity matters more than appearance.
Confirm your mobile number is linked to Aadhaar (check via UIDAI portal).
Verify your PAN is active on the Income Tax Department website.
Compare names across Aadhaar, PAN, and bank account for exact matches.
Download your e-Aadhaar PDF as a backup document.
Test your phone camera in good lighting for clear document photos and selfie capture.
Keep your bank account number and IFSC code accessible.
Completing these steps before opening the mPokket app or any digital lending platform can help reduce the chance of failed submissions and speed up your path to approval.
Digital KYC does not need to be stressful. When your Aadhaar, PAN, selfie, and bank details are prepared and consistent, the verification process on platforms like mPokket is designed to move quickly. Spend ten minutes checking your documents now, and you can help avoid days of back and forth later.
Most digital lenders in India, including mPokket, require your Aadhaar card, PAN card, a selfie for liveness verification, and an active bank account in your name. No physical paperwork or branch visit is typically needed.
Yes. Aadhaar and PAN are the primary KYC documents for instant personal loans in India. Aadhaar enables OTP based identity verification, while PAN confirms your tax identity. Together, they can help complete digital KYC on platforms like mPokket.
Download a digital lending app such as mPokket, complete your profile, upload your Aadhaar and PAN, pass selfie verification, and submit your application. If approved, funds are designed to be transferred directly to your bank account.
Common reasons include an unlinked Aadhaar mobile number, name mismatches between Aadhaar and PAN, blurry document uploads, and poor selfie lighting. Preparing documents and checking details before applying can help prevent these failures.
5 Reasons Your Business Needs a Working Capital Loan
4 min read • 28 July 2026
How to Get a Personal Loan with an Aadhaar Card
4 min read • 4 August 2026
What Documents Are Actually Needed for Digital Loans
5 min read • 7 May 2026
Unsecured Business Loans: Benefits, Features, and Reasons to Consider One
4 min read • 27 July 2026
