4 mins min read • 31 October 2026


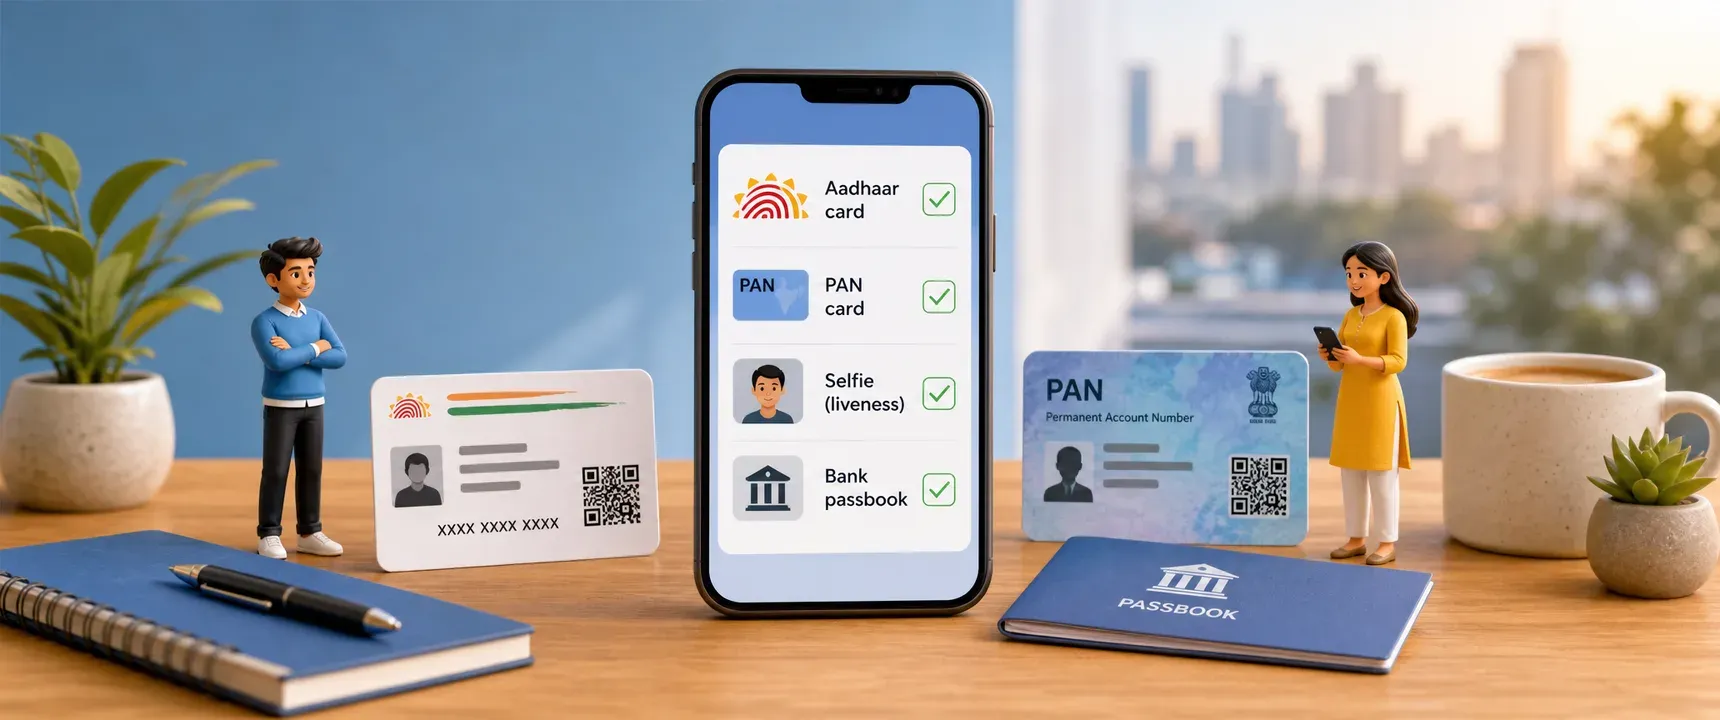
Table of content
Overview
How digital lending works
Your KYC readiness checklist
PAN card readiness
Decision matrix for readiness
Common mistakes that delay applications
What mPokket's process looks like
After you submit your application
FAQs
Every year, thousands of borrowers in India abandon digital loan applications midway. The reason is rarely a lack of eligibility. It is uncertainty about what documents and steps the process requires. mPokket, a digital lending platform designed for quick personal loans, sees this pattern regularly among first time applicants. A simple KYC readiness checklist can eliminate that confusion before you even open the app.
Follow our Whatsapp Community for more offers and updates.
Join nowDigital lending in India operates under RBI's digital lending guidelines. A borrower downloads a loan app, submits identity documents electronically, and receives funds in a verified bank account. No branch visit is needed.
The process has three core stages. First, KYC verification confirms your identity. Second, the lender assesses your eligibility using the information you provide. Third, approved funds transfer directly to your bank account.
mPokket follows this model for personal loans. The app handles document upload, OTP based Aadhaar verification, PAN validation, selfie capture, and bank account linking in a single digital flow. Understanding each step before you begin is designed to reduce application errors.
Use this checklist to confirm you have everything ready before opening a digital loan application. Each item addresses a specific verification step that lenders require.
Your Aadhaar card is the primary identity and address document for digital KYC. Before applying, verify these points. Your Aadhaar number should be linked to the mobile number you currently use. OTP based verification will send a code to that number, so a mismatch will stall the process.
Check that your name and address on Aadhaar match your other documents. If you have moved recently, update your address on the UIDAI portal before applying. Keep a clear digital copy or the physical card accessible for uploading.
PAN serves as your financial identity marker. Lenders use it to verify your tax registration and cross check your name against Aadhaar. Confirm that your PAN is active by checking on the Income Tax Department's portal.
Ensure the name on your PAN matches the name on your Aadhaar exactly. Even small spelling differences can cause verification failures. If there is a mismatch, correct it with the relevant authority before starting your application.
Digital lenders use a selfie to confirm that the person applying is the same person whose documents are being submitted. This is called liveness verification. It prevents identity fraud and satisfies RBI's digital lending norms.
Before applying, make sure your phone camera works properly. Find a well lit space. Remove sunglasses or anything that obscures your face. The selfie step usually takes seconds, but poor lighting or a blurry image can trigger a retry.
Your loan amount transfers directly to a bank account in your name. The account must be active and capable of receiving direct transfers. Confirm the following before you apply.
The account holder name should match your Aadhaar and PAN name. The account should not be dormant. If you have not used it in months, make a small transaction or contact your bank to reactivate it. Keep your account number and IFSC code handy for the application form.
Your registered mobile number ties together every verification step. Aadhaar OTP, app registration, and bank account alerts all route through it. Use the same number across all documents and the loan app.
If your Aadhaar is linked to an old number, update it at an Aadhaar enrollment center before applying. This single step prevents the most common reason for application stalls.
The table below scores each checklist item by its impact on application success and the effort needed to fix it if something is wrong. Use it to prioritize what to check first.
| Checklist item | Impact if not ready | Fix effort | Priority |
|---|---|---|---|
| Aadhaar linked to current mobile | Application cannot proceed past OTP step | Medium (visit enrollment center) | Highest |
| PAN card active and name matched | Identity verification fails | Medium (online correction takes days) | High |
| Bank account active and in your name | Disbursal blocked or delayed | Low to medium (contact bank) | High |
| Selfie ready (clear photo, good lighting) | Liveness check retry needed | Low (find better lighting) | Moderate |
| Name consistency across all documents | Cross verification rejection | High (corrections take time) | Highest |
Start with the highest priority items. Name consistency and Aadhaar mobile linkage take the longest to fix, so addressing them early gives you the smoothest application experience.
Even borrowers who have all documents sometimes face delays. Here are the most frequent errors and how to avoid them.
Uploading a blurry or cropped document image is a top cause of rejection. Use your phone's document scan mode or a scanner app to capture clean, full page images of your Aadhaar and PAN.
Entering bank details manually introduces typos. Double check your account number and IFSC code against your passbook or bank statement. A single wrong digit sends the disbursal to the wrong account or causes it to bounce.
Applying with an expired or deactivated PAN creates a hard stop. The Income Tax Department deactivates PANs that have not been linked to Aadhaar as per current regulations. Verify your PAN status before you begin.
mPokket is designed to offer a paperless loan process that follows RBI's digital lending guidelines. The app guides borrowers through profile completion, Aadhaar and PAN upload, OTP based digital KYC, selfie verification, and bank account linking.
Once KYC is complete and the application is approved, funds can be transferred directly to the borrower's verified bank account. The process is designed to work without a branch visit, making it accessible to salaried employees, freshers, self employed individuals, and others who qualify.
For first time borrowers, mPokket's in app flow is designed to reduce the guesswork. Each step prompts you for exactly what is needed, but arriving prepared with the checklist above can help you move through the process faster and with fewer errors.
Once your documents are uploaded and verified, the lender reviews your profile. Approval timelines vary, but digital platforms like mPokket are designed to process applications quickly. Keep your phone accessible for any follow up OTPs or notifications.
After approval, the loan amount transfers to your verified bank account. Check your account to confirm receipt. Save the Key Fact Statement provided by the lender, which details your interest rate, tenure, EMI amount, and total repayment obligation. This document is mandatory under RBI's digital lending guidelines.
Preparing your KYC documents before you start a digital loan application is the simplest way to avoid delays and rejections. Whether you are a first time borrower exploring platforms like mPokket or an experienced applicant, running through this checklist takes minutes and can save you hours of frustration. Gather your Aadhaar, PAN, bank details, and a clear selfie. Confirm your mobile number is consistent across all records. Then apply with confidence.
Most digital lenders in India require an Aadhaar card linked to your mobile number, a PAN card, a selfie for liveness verification, and an active bank account in your name. mPokket follows a similar paperless process that satisfies RBI's digital lending guidelines.
Yes. Aadhaar and PAN together serve as the primary KYC documents for digital loans in India. OTP based Aadhaar verification and PAN validation are designed to fulfill regulatory identity requirements without a branch visit on platforms like mPokket.
Digital lending follows RBI guidelines. You download a loan app, complete KYC by uploading Aadhaar and PAN, verify identity through OTP and selfie, link your bank account, and receive approved funds directly. mPokket uses this fully online model for personal loans.
Download a digital lending app like mPokket, complete your profile, upload Aadhaar and PAN, take a selfie for verification, and link your bank account. After KYC approval and eligibility assessment, funds can be disbursed directly to your verified bank account.
Common reasons include an Aadhaar not linked to your current mobile number, a name mismatch between Aadhaar and PAN, a dormant bank account, or blurry document uploads. Checking these items before applying can help prevent most rejections.
How digital lending works in India step by step
5 min read • 10 September 2026
5 Reasons Your Business Needs a Working Capital Loan
4 min read • 28 July 2026
